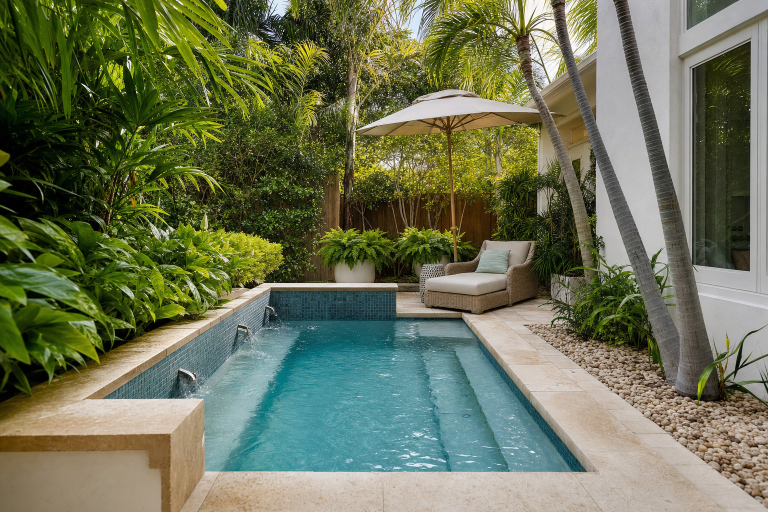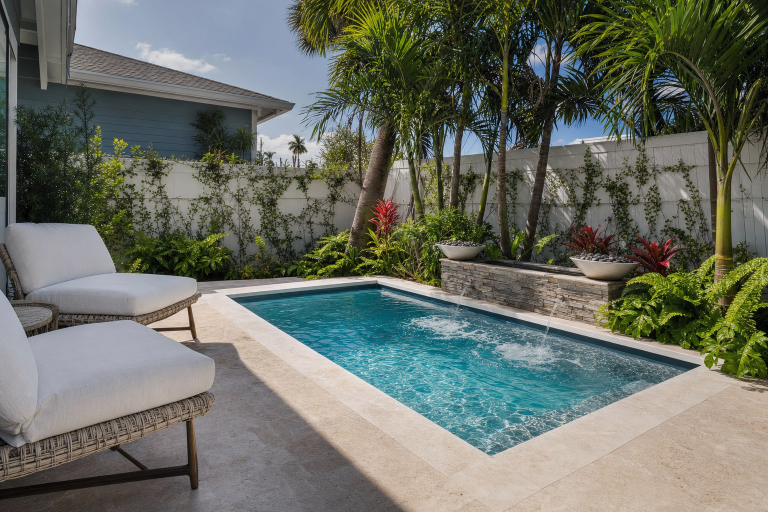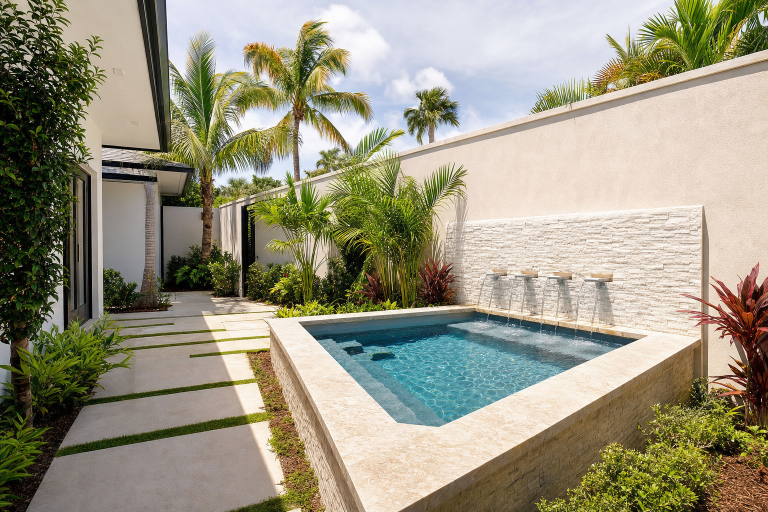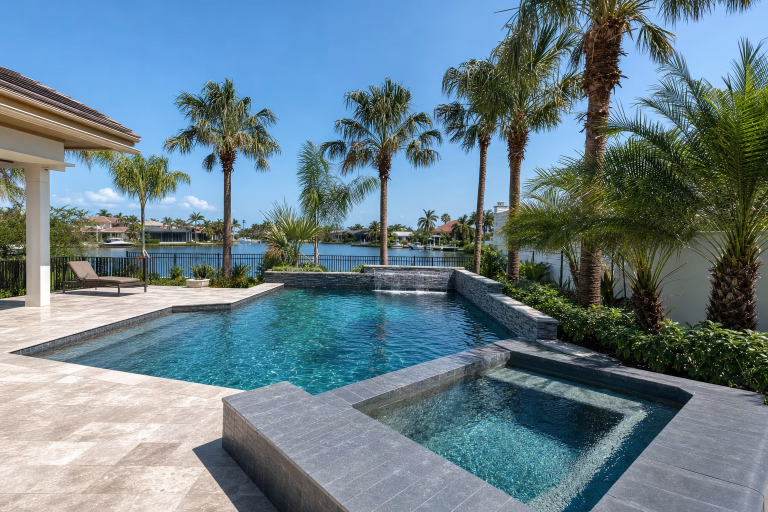
Step-by-Step Guide to the Pool Construction Process
Building a custom pool is one of the most exciting home improvements you’ll ever undertake, but it can also feel overwhelming if you don’t know what to expect. The pool construction process Tampa homeowners follow involves multiple stages, from initial sketches to that first refreshing swim. Understanding each phase helps you prepare mentally, financially, and logistically for the transformation happening in your backyard.
We’ve guided projects from concept to completion, and we’ve learned that clear communication and realistic expectations make all the difference. When you know what’s coming next, you can plan accordingly, ask the right questions, and enjoy watching your vision take shape without unnecessary stress. For homeowners considering their investment options, understanding how much it costs to install an inground pool in Tampa Bay helps set realistic budget expectations from the start.
Let’s walk through the entire journey together.
Step 1: The Initial Property Consultation
Everything begins with a conversation. During your first meeting with a pool builder Clearwater residents trust, the focus is on understanding your vision, lifestyle, and property. We’ll discuss:
- How you plan to use the pool (family gatherings, exercise, relaxation)
- Design preferences and aesthetic goals
- Budget parameters and timeline expectations
- Site-specific considerations like lot size, drainage, and access
This consultation typically happens at your property so we can assess the space firsthand. We’ll take measurements, evaluate grade changes, note existing landscaping, and identify any potential challenges like utility lines or setback requirements.
Bring photos of pools you love, a rough budget range, and any questions you’ve been gathering during your research phase.
Step 2: Custom 2D and 3D Design Development
Here’s where the magic starts. Based on your consultation, we’ll create custom pools St. Petersburg homeowners are proud to show off, starting with detailed 2D renderings that map out dimensions, shape, and placement.
But the real game-changer is our custom pool design process. Instead of trying to imagine what a flat drawing will look like in reality, you’ll see photorealistic renderings of your future pool from multiple angles. You can visualize:
- Pool shape and depth variations
- Surrounding deck and hardscape materials
- Integrated features like waterfalls, tanning ledges, or spa areas
- Outdoor living elements (fire pits, seating walls, summer kitchens)
- Landscaping that complements the overall design
Design development typically takes 1-3 weeks, depending on complexity and how many revision rounds you need. Don’t rush this phase. It’s far easier to adjust a 3D rendering than to modify concrete after it’s poured.
If you’re exploring design ideas that match your lifestyle, the 3D visualization process helps you see exactly how different features and layouts will work with your property and daily routine.
Step 3: Pre-Construction Site Preparation
Before excavation begins, several important tasks happen behind the scenes:
- Utility locates: We arrange for marking of underground lines (electric, gas, water, cable)
- Site preparation: Clearing the work area and establishing access routes for equipment
- Material ordering: Scheduling deliveries for steel, plumbing, and concrete
- Subcontractor coordination: Confirming schedules with electricians, plumbers, and finishers
This preparation phase takes 1-2 weeks and sets the foundation for smooth construction.
Step 4: Pool Excavation and Grading
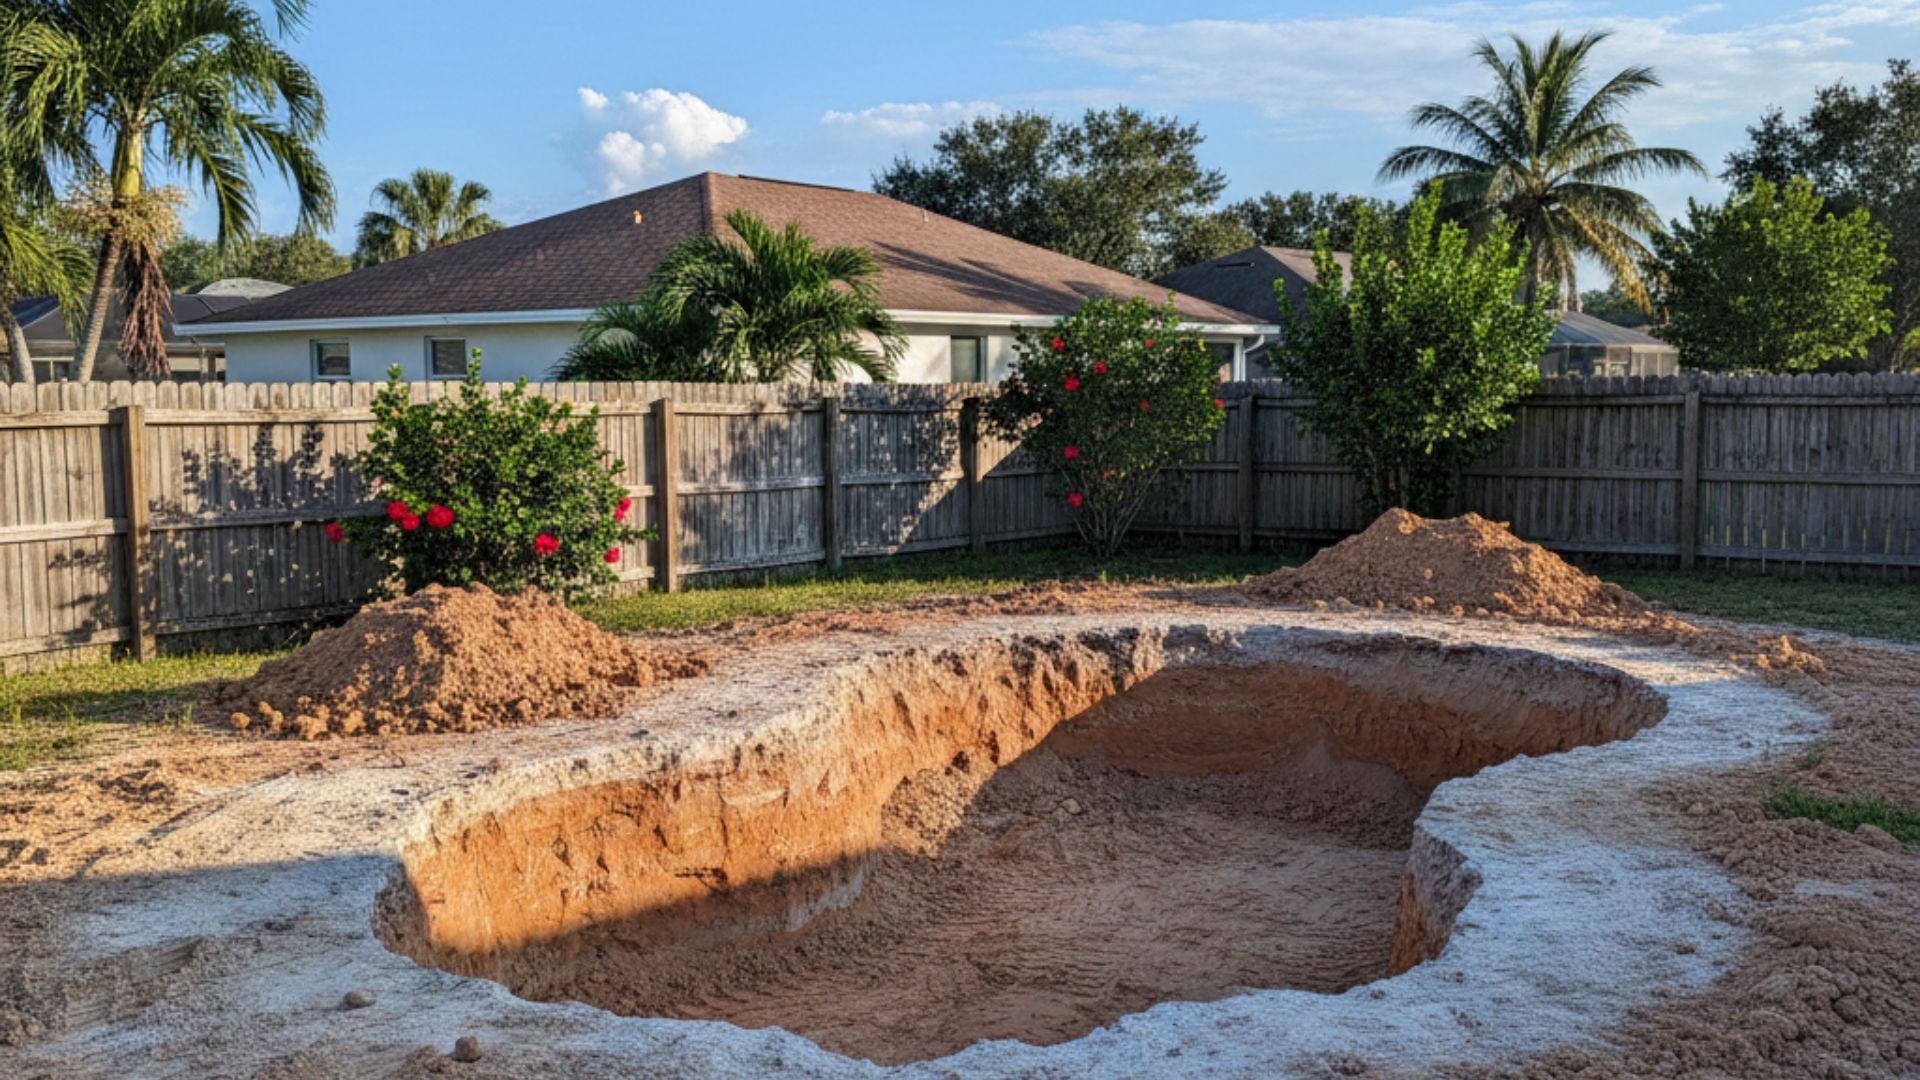
This is when things get real, and exciting. A large excavator will dig the hole according to your approved design plans. Excavation typically takes 1-2 days for most residential pools, though larger or more complex shapes may require additional time.
What to expect:
- Heavy equipment in your yard (we protect existing landscaping whenever possible)
- Significant noise and activity
- A large pile of dirt that will either be hauled away or redistributed on your property
- Your backyard transformed into an active construction zone
After excavation, we’ll grade the bottom of the pool, compact the soil, and prepare for plumbing installation.
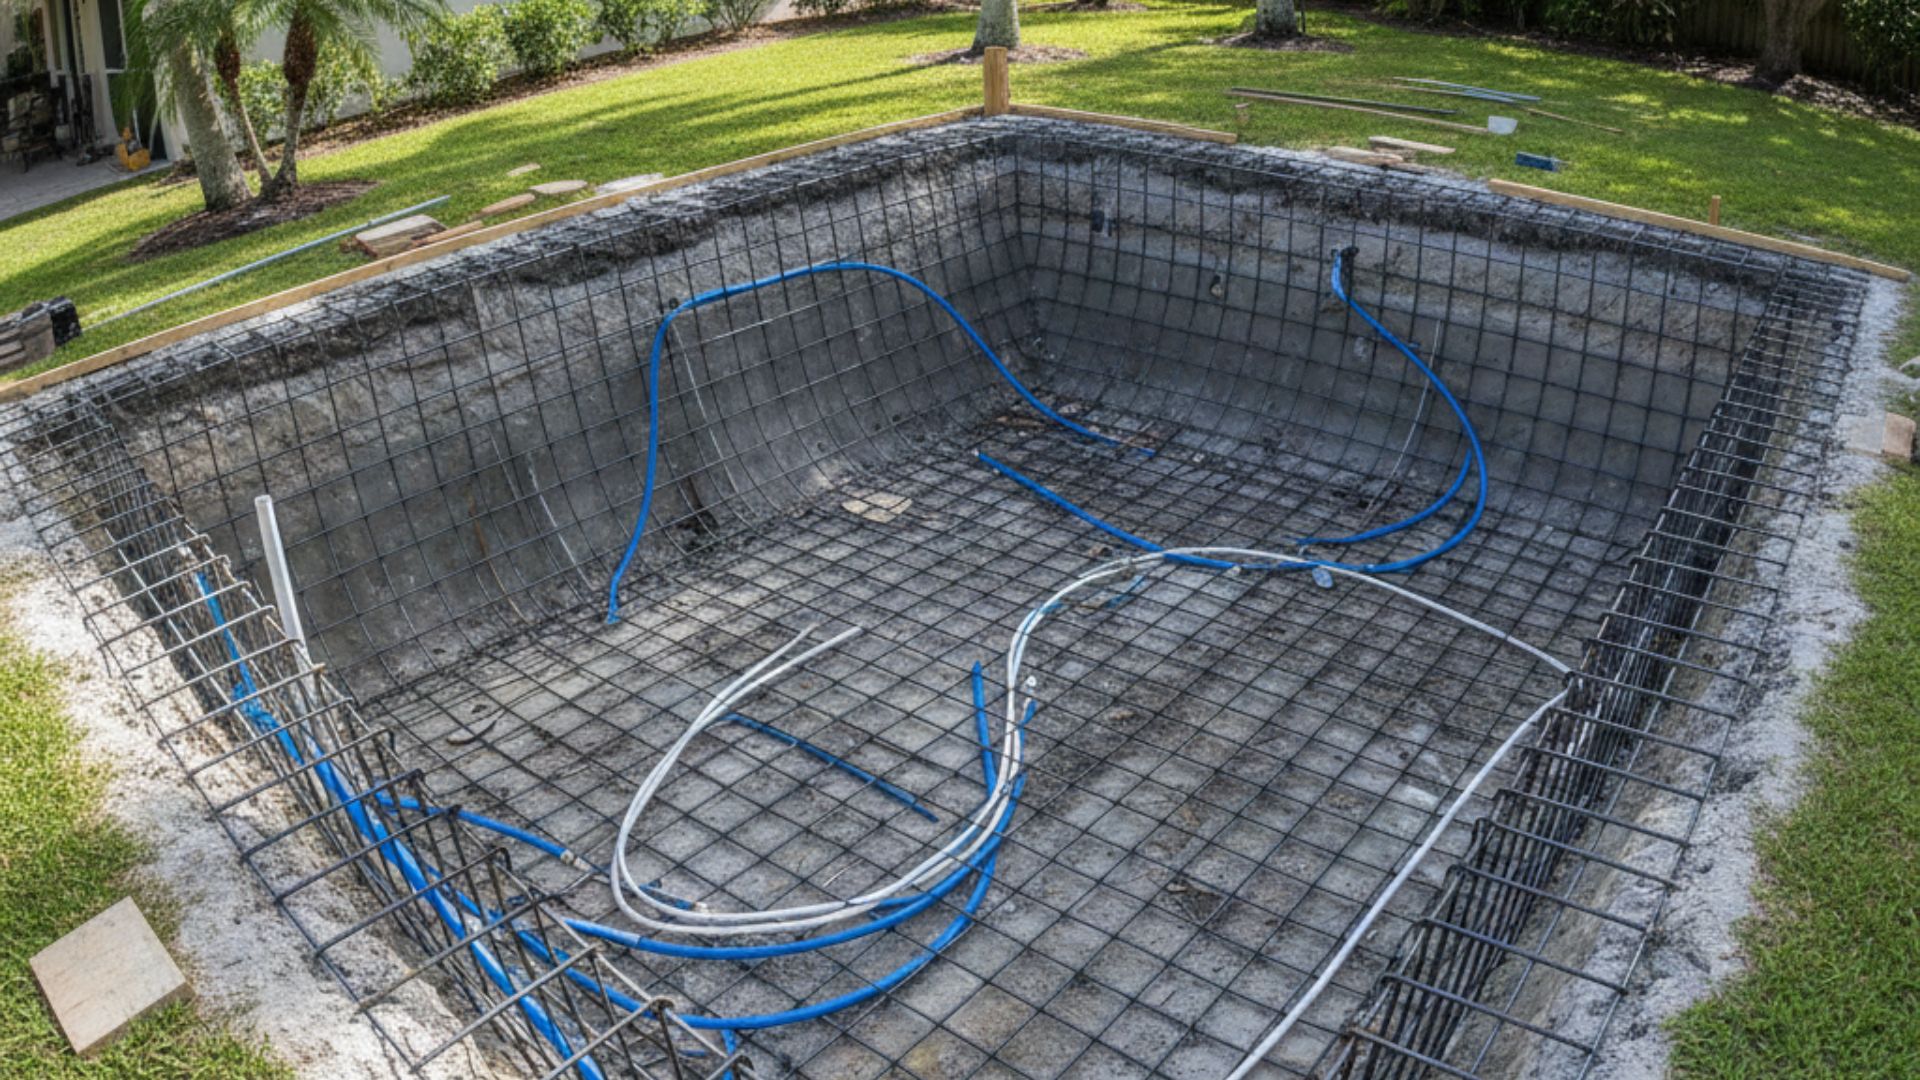
Step 5: Underground Plumbing and Steel Reinforcement
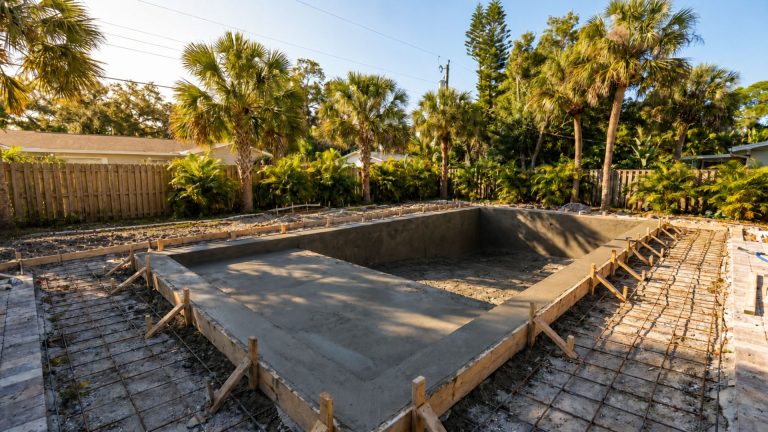
Now the pool’s skeletal system takes shape. Licensed plumbers install all underground lines including returns, main drains, skimmers, and any water features.
Next comes steel reinforcement. We create a grid of rebar throughout the pool shell, providing structural strength for the concrete. Steel placement is critical for long-term durability, especially in Florida’s climate where ground movement and water table fluctuations are considerations.
Plumbing and steel installation typically take 3-5 days combined.
Step 6: Concrete Shell Application
This is the most dramatic construction day. A concrete truck and pneumatic equipment arrive to spray the shell, using either shotcrete or gunite. Both are forms of pneumatically applied concrete. The entire shell gets covered in one continuous pour, creating a monolithic structure without seams or joints.
After application, the concrete must cure properly. In Florida’s climate, we carefully manage moisture levels to prevent cracking. The curing period lasts about 28 days, though finishing work begins much sooner.
Step 7: Tile, Coping, and Pool Deck Installation
While the shell cures, we focus on the details that define your pool’s aesthetic:
Tile: Waterline tile serves both functional and decorative purposes. You’ll choose from glass, ceramic, or porcelain options in colors and patterns that complement your overall design.
Coping: The cap around your pool’s edge. Popular choices include travertine, pavers, natural stone, or poured concrete with custom profiles.
Decking: The surrounding patio area using materials like travertine pavers, stamped concrete, cool deck, or natural stone. We typically recommend extending your deck at least 4-5 feet around the pool for comfort and safety.
Tile, coping, and deck work takes 2-3 weeks depending on material choices and weather. If you’re considering updates to your pool area down the line, understanding what to know before renovating your pool deck can help you make informed material choices from the start.
Step 8: Pool Interior Finish Application
Your pool’s interior surface gets applied last. Popular finishes include:
- Plaster: Traditional, affordable, available in white or colors
- Pebble: Durable, textured, natural appearance
- Quartz: Smooth, stain-resistant, mid-range option
- Glass bead: Premium option with stunning visual effects
The finish crew typically completes application in one day. Afterward, the surface must cure before filling.
Step 9: Pool Equipment and System Installation
While finishing crews work, our team installs all mechanical equipment:
- Pump and filter system
- Heater (if included)
- Salt system or chemical feeders
- Automation controls
- Lighting transformers
Once everything’s connected and the finish has cured, we fill your pool, balance the chemistry, and conduct startup procedures. We’ll walk you through all equipment operation, maintenance schedules, and care instructions.
If you’re thinking about adding relaxation features, many homeowners consider integrating a spa or hot tub addition during the initial build for seamless design and cost efficiency.
Common Factors That Affect Construction Timelines
Even with careful planning, several factors can impact construction schedules:
- Weather: Heavy rain delays concrete work and finishing
- Material availability: Supply chain issues occasionally affect specific finishes or equipment
- Utility conflicts: Discovering unmarked lines requires adjustments
- Design modifications: Changes mid-project extend timelines
Typical pool construction in our region takes 10-14 weeks from breaking ground to swimming, though complex projects or seasonal factors can extend this timeframe.
Working With an Experienced Pool Construction Team
When you partner with an established pool builder serving Tampa Bay, you’re working with a team committed to keeping you informed every step of the way. We provide realistic timelines, proactive communication about any delays, and regular photo updates so you can watch progress even when you’re not home.
Building a custom pool represents a significant investment, not just financially, but emotionally. Your backyard becomes a construction zone for weeks. Understanding the process helps you prepare your family, plan around the timeline, and maintain realistic expectations about what’s happening and why.
Each phase builds on the previous one. The consultation shapes the design. The design determines excavation parameters. Excavation dictates plumbing placement. Every step matters, and every step requires attention to detail.
How to Make Smart Design and Material Choices
The more you understand about pool construction, the better equipped you are to make decisions that align with your vision and budget. When you know why certain materials cost more or why specific features require additional structural support, you can prioritize what matters most to your family.
Some homeowners focus heavily on aesthetic details like tile patterns and deck materials. Others prioritize functional elements like heating systems or automation. There’s no wrong approach. Your pool should reflect your priorities and how you plan to use the space.
The 3D design phase gives you time to explore options without pressure. You can see how different coping styles look with various deck materials. You can visualize how a tanning ledge affects the overall shape. You can experiment with positioning until everything feels right.
Once construction wraps up, thoughtful pool landscaping choices can transform your backyard into a true retreat, complementing your new pool’s design while thriving in Florida’s climate.
Creating Your Backyard Retreat in Tampa Bay
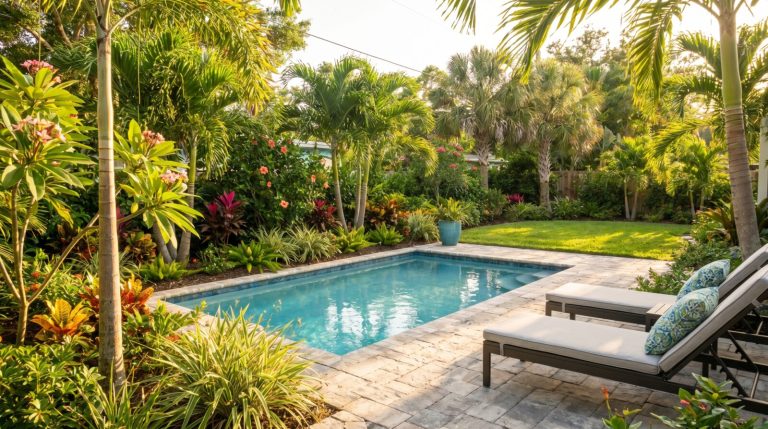
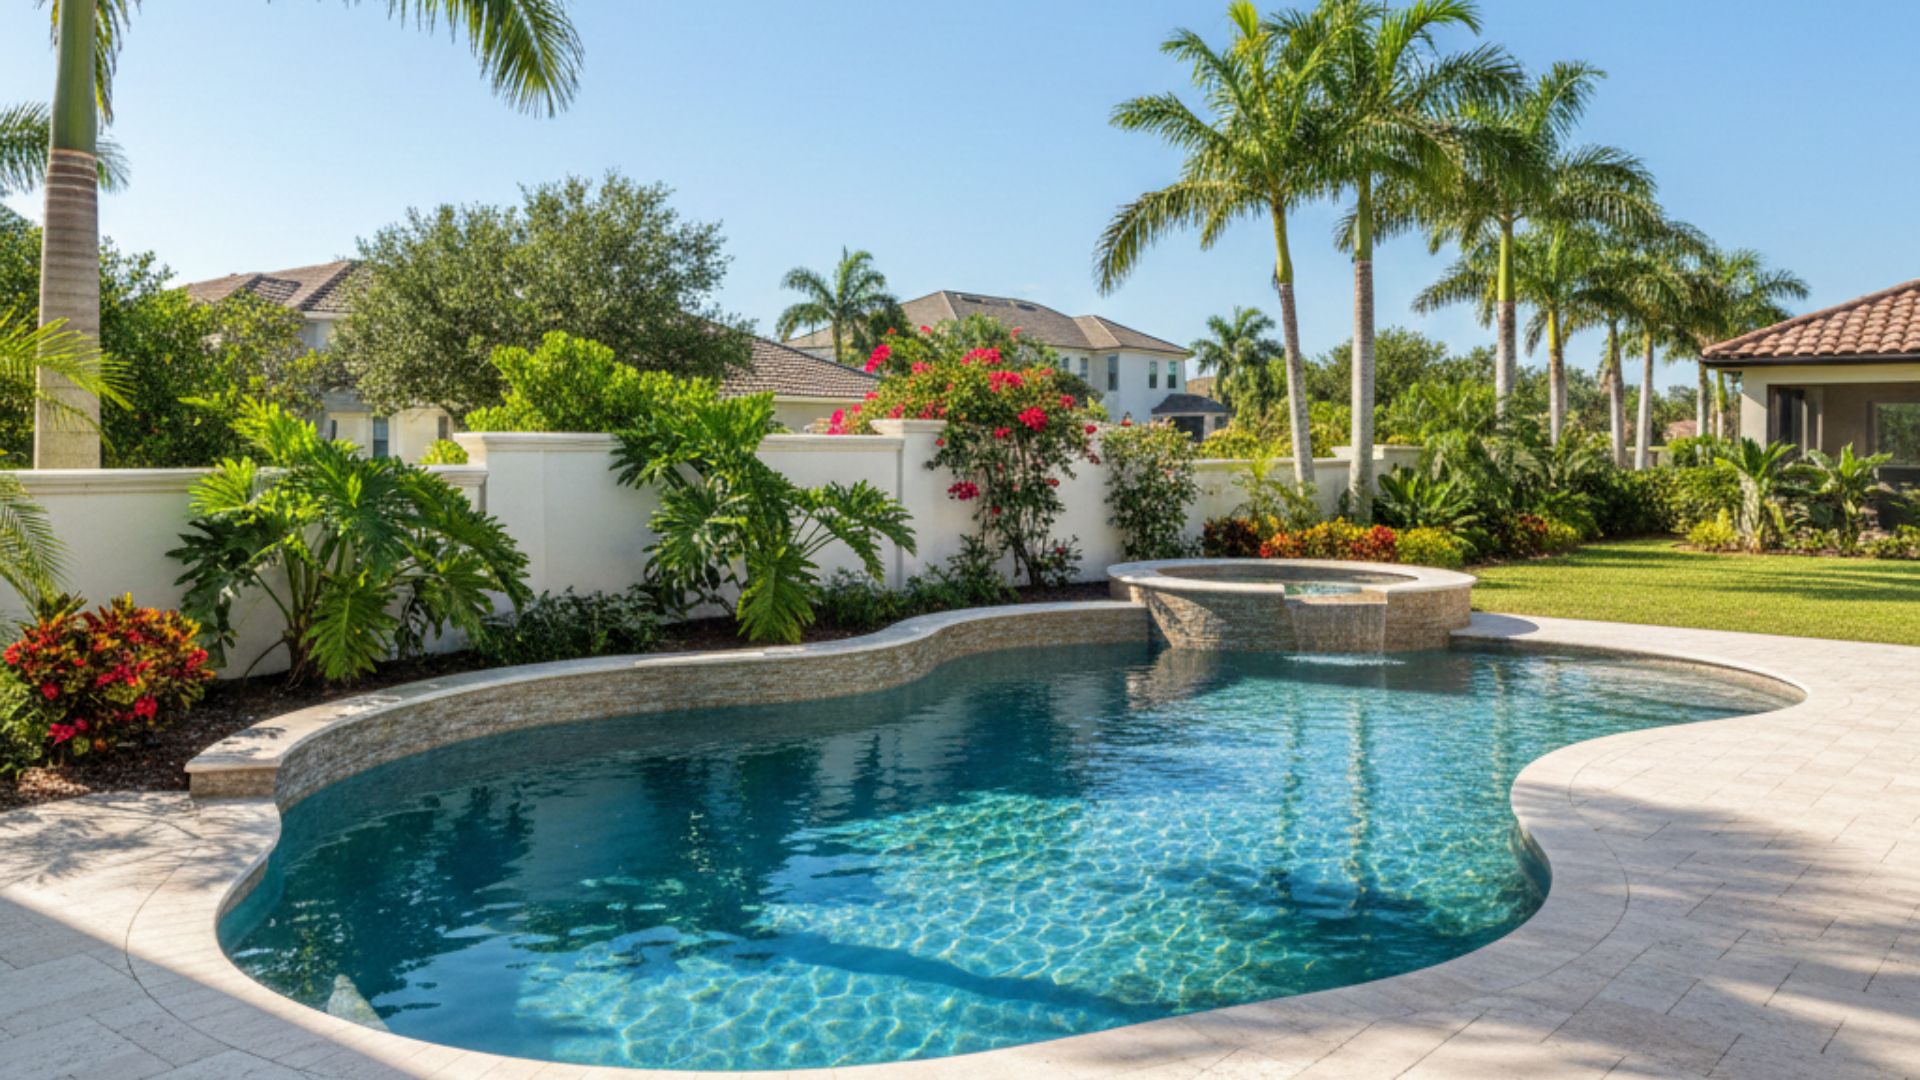
The payoff for navigating the construction process is a stunning, custom-designed retreat that reflects your vision and enhances your property for decades to come. When February arrives each year, while others are still dreaming about summer, you’ll be planning your first pool gathering of the season.
Tampa Bay’s climate gives you nearly year-round swimming potential. A heated pool extends the season even further. The investment you make in understanding the construction process pays dividends in enjoyment, relaxation, and memories created with family and friends.
Learn more about our team and our commitment to quality craftsmanship, or explore our approach to professional pool installations that prioritize both beauty and durability.
Ready to start your pool journey? Give us a call at 727-685-3812 or visit ftgupools.com to schedule your complimentary consultation. We’ll walk your property, discuss your vision, and show you exactly what’s possible with complete transparency about the process ahead.
Frequently Asked Questions
How long does the pool construction process take in Tampa Bay?
Most pool projects in Tampa Bay take about 10 to 14 weeks from excavation to final completion. Excavation usually takes 1 to 2 days. Plumbing and steel installation often require 3 to 5 days. The concrete shell is then applied and cured for about 28 days. Tile, coping, and deck work generally take another 2 to 3 weeks. Weather conditions, material availability, and design complexity can influence the overall schedule. Learn more about our pool installation services.
What happens during the pool design phase?
During the design phase, you will receive detailed two dimensional renderings that outline the pool’s size, shape, and placement. These are followed by realistic three dimensional visualizations that show the pool from multiple angles, including decks, water features, landscaping, and outdoor living areas. This stage typically takes 1 to 3 weeks and allows time for revisions before construction begins. Explore our custom pool design process.
What is shotcrete and gunite in pool construction?
Shotcrete and gunite are both types of concrete applied through a high pressure hose to form the pool shell. The material is sprayed in a continuous process, creating a strong structure without seams or joints. After application, the concrete cures for about 28 days in Florida’s climate. This hardened shell becomes the base for tile, coping, and the interior finish.
Can I add a spa or hot tub during pool construction?
Yes, adding a spa or hot tub during the initial build is often more cost effective and results in a cohesive design. Plumbing, equipment, and structural components can be planned together from the start, which improves both efficiency and appearance. Many homeowners choose to include a spa during construction rather than retrofitting one later. Learn about our spa and hot tub addition services.
What factors can delay pool construction in Florida?
Several factors can affect the construction timeline. Heavy rainfall can delay concrete application and finishing work. Material shortages may slow progress. Unexpected utility lines discovered during excavation can require adjustments. Design changes made after construction begins can also extend the schedule. In the Tampa Bay area, weather is the most common cause of delays, especially during summer. Working with an experienced builder who communicates clearly helps manage expectations throughout the process.